
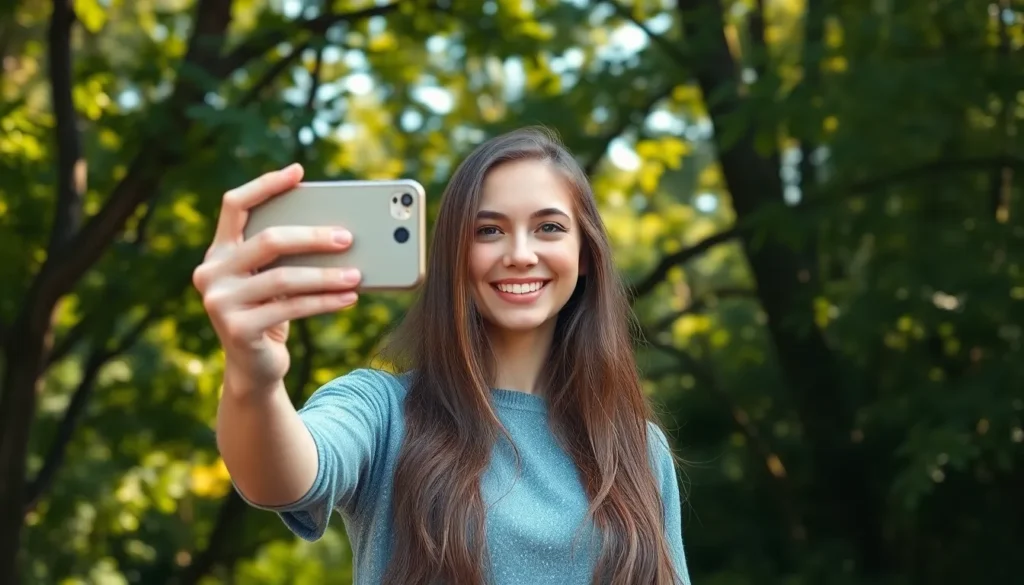
In a world where selfies reign supreme, mastering the art of the perfect self-portrait is a must. But let’s face it—holding the phone at just the right angle while striking a pose can feel like an Olympic sport. Enter the iPhone timer feature, your new best friend in the quest for flawless selfies. It’s like having a personal photographer who never complains about the lighting!
Understanding Your iPhone’s Camera Features
Using the iPhone’s camera is simple, yet it offers powerful features for capturing the perfect selfie. Familiarity with these features enhances the overall photography experience.
Key Camera Options for Selfies
Select the front-facing camera for selfies. Adjust the exposure control to brighten or darken the image. Utilize the grid option for better alignment and composition. Experiment with different modes like portrait for a blurred background effect. Tap to focus ensures clarity on the subject’s face. Explore filters to add creative touches before taking the shot. Lastly, leverage the HDR setting for improved details in high-contrast scenes.
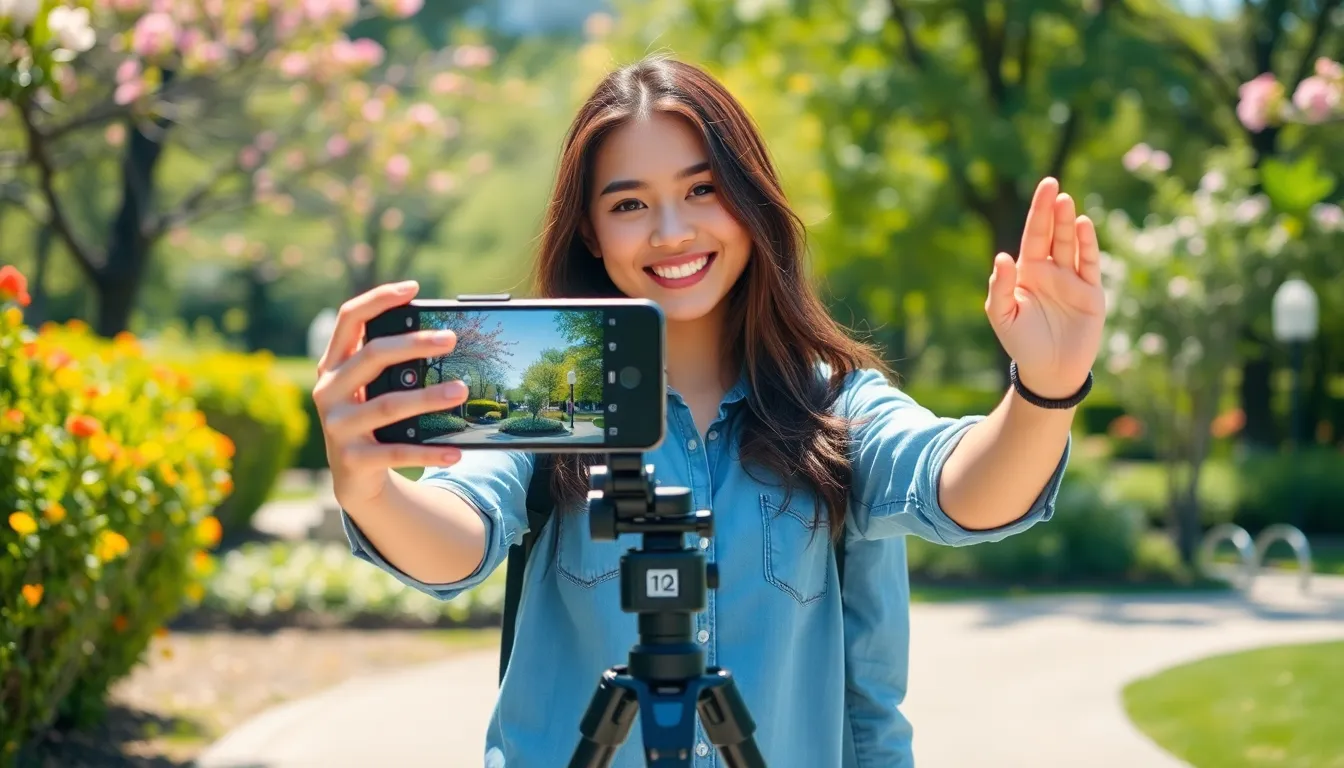
Benefits of Using the Timer Feature
The timer feature grants users time to compose themselves before the photo. A delay of 3 or 10 seconds offers ample opportunity for positioning. This feature minimizes shaky hands that may occur when pressing the shutter button. Friends can easily join in group selfies without the need for a remote. Photographers can capture natural expressions as they pose instead of rushing. Moreover, it encourages creativity by allowing for different angles and settings. Overall, using the timer elevates the selfie-taking experience significantly.
Steps to Take a Selfie on iPhone with Timer
Taking a selfie with the timer feature can enhance the photo experience. Follow these steps for a smooth process.
Accessing the Camera App
Open the Camera app by tapping the camera icon on the home screen. Swiping left from the lock screen also provides quick access. Once the app launches, users can switch to the front-facing camera by tapping the camera switch icon in the bottom right corner. This adjustment allows for a better self-portrait experience.
Setting the Timer
Locate the timer icon at the top of the screen after accessing the Camera app. Tapping this icon reveals options such as 3 seconds and 10 seconds. Selecting the preferred duration gives ample time to pose. After the timer is set, a countdown appears on the screen before the shutter releases.
Choosing the Right Angle and Background
Position the iPhone at eye level for the best angle. Angling the phone slightly downward helps avoid unflattering perspectives. Background selection plays a vital role in selfie quality. Opt for simple, uncluttered backdrops that enhance the subject without distraction. Adjust the frame to include interesting elements while ensuring the focus remains on the subject.
Tips for Perfecting Your Selfie
Capturing the ideal selfie requires attention to detail. Understanding a few key tips enhances the overall quality of your photo.
Lighting Considerations
Natural light provides the best illumination. Positioning oneself near a window or outdoors often leads to flattering results. Avoid harsh sunlight that creates unflattering shadows. Golden hour, which occurs shortly after sunrise or before sunset, offers soft, warm light perfect for selfies. Experimenting with different angles can reveal how light interacts with facial features. Checking for reflections or glare is also crucial to ensure clarity. Investing in a ring light can enhance indoor selfies, providing even exposure.
Experimenting with Poses and Expressions
Various poses can dramatically change the selfie’s impact. Tilting the head slightly often adds intrigue, while a natural smile tends to engage viewers. Trying different angles can reveal what feels comfortable and confident. Relaxing the body and playing with hair or accessories creates a more casual vibe. Don’t hesitate to practice different expressions in the mirror to discover what resonates best. Group selfies should include varied poses to add dimension and excitement to the photo. Capturing candid moments can also yield authentic expressions that reflect genuine emotions.
Troubleshooting Common Issues
Selfie enthusiasts may encounter issues while using the timer feature. Understanding these problems helps ensure a seamless experience.
Timer Not Working
Sometimes, the timer might not respond as expected. Users should first check the Camera app settings to confirm the timer is activated. In some cases, restarting the iPhone resolves temporary glitches. Inspecting for software updates can also help; updates often fix bugs that affect camera functionality. If issues persist, resetting settings may provide a solution; this step can restore default settings without deleting content.
Camera Quality Concerns
Quality problems may arise when taking selfies, especially if lighting conditions are suboptimal. Natural light enhances image quality, so users should find well-lit areas. Additionally, dirty lenses can blur photos, making regular cleaning essential for maintaining clarity. If vibrant colors are necessary, adjusting exposure settings within the Camera app can improve images. Experimenting with different angles can also enhance the overall composition, ensuring that each selfie looks its best.
Mastering the art of taking selfies on an iPhone with the timer feature can significantly enhance one’s photography experience. By utilizing this tool, users can achieve well-composed and natural-looking self-portraits without the hassle of asking for help.
Understanding the camera settings and experimenting with angles and lighting can further elevate the quality of selfies. With practice and creativity, anyone can capture stunning images that reflect their personality.
Embracing these techniques not only leads to better selfies but also encourages a fun and engaging photography journey. So grab that iPhone and start snapping those perfect self-portraits today.


